How to build a DIY product photography lightbox
Professional lighting on a budget

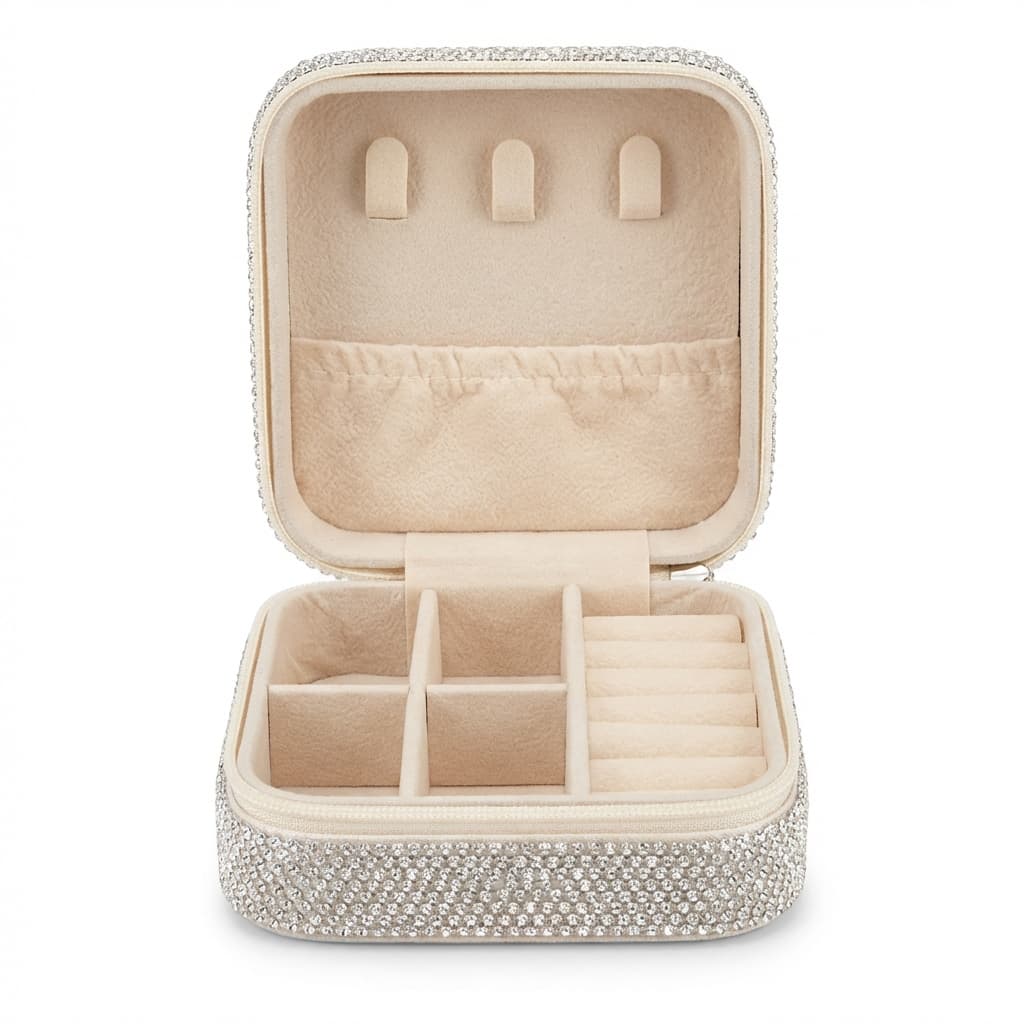
Transform your product photos with AI-powered studio white photography.
What you'll need
- Large cardboard box (minimum 18" cubed)
- White tissue paper or diffusion material
- White poster board for backgrounds
- Box cutter and ruler
- Desk lamps or LED panels (2-3)
- Optional: black foam board for flags
Step-by-step guide
Prepare the box
Choose a box larger than your products with room to spare. Remove or open all flaps. You'll cut windows in three sides (both sides and top).
Cut the windows
On each side and the top, mark a window leaving 2-inch borders. Cut out the marked rectangles. These windows are where light enters.
Cover with diffusion material
Tape white tissue paper or diffusion fabric over each window from the outside. This softens the light entering the box.
Install the backdrop
Curve white poster board from the back top of the box down to the front, creating a seamless background. Tape at top only so it curves naturally.
Set up your lights
Position lights outside the diffusion windows - one on each side and optionally one on top. Angle them to evenly illuminate the interior.
Pro tips
Make the box collapsible for storage by scoring fold lines
Add colored paper backgrounds for variety
Use black foam board inside as flags to control reflections
Upgrade to white fabric stretched over PVC for a more durable version
Common mistakes to avoid
Using a box too small for the products being photographed
Inconsistent light color from mixing bulb types
Not diffusing the light source adequately
Recommended photo styles
The easier way: AI product photography
While these manual techniques work great, AI can achieve professional results in seconds. Upload your product photo and let AI handle the lighting, backgrounds, and styling automatically.
Try AI product photographyFrequently asked questions
How big should my lightbox be?
At minimum, twice the size of your largest product in each dimension. For versatility, build larger and shoot smaller items with more space.
What lights work best for a DIY lightbox?
LED panels or daylight-balanced bulbs (5000-5500K) in desk lamps. Avoid tungsten bulbs which create warm color casts.
Can I photograph reflective products in a lightbox?
Yes, lightboxes are ideal for reflective products as the diffused light from all sides minimizes harsh reflections.
Related guides
Related resources
Photography styles
Ready to create professional photos?
Skip the setup and create stunning product photos with AI. Start with 3 free credits.
Start creating free